
Plastic is useful for many things–from medical supplies to car parts. But most plastic items are made to be used only once, and they aren’t essential at all.
Just like plastic bottles.
Sure, we can use eco-friendly alternatives (like reusable glass bottles), but we really can’t avoid single-use plastic.
Commercial shampoo, lotion, and cooking oil, among many others, are mostly packaged in plastic bottles. And once they’re disposed of, they almost always end up in landfills rather than recycling facilities.
So here’s a fun solution: recycle your plastic bottles into cute pots for your apartment plants. Read on and learn how you can do just that.
1. Prepare Your Supplies
What’s great about this project is that it can save you money from buying pots from the store. All you need are a few things lying around in your apartment and a few other things you might have to buy from an arts and crafts store.
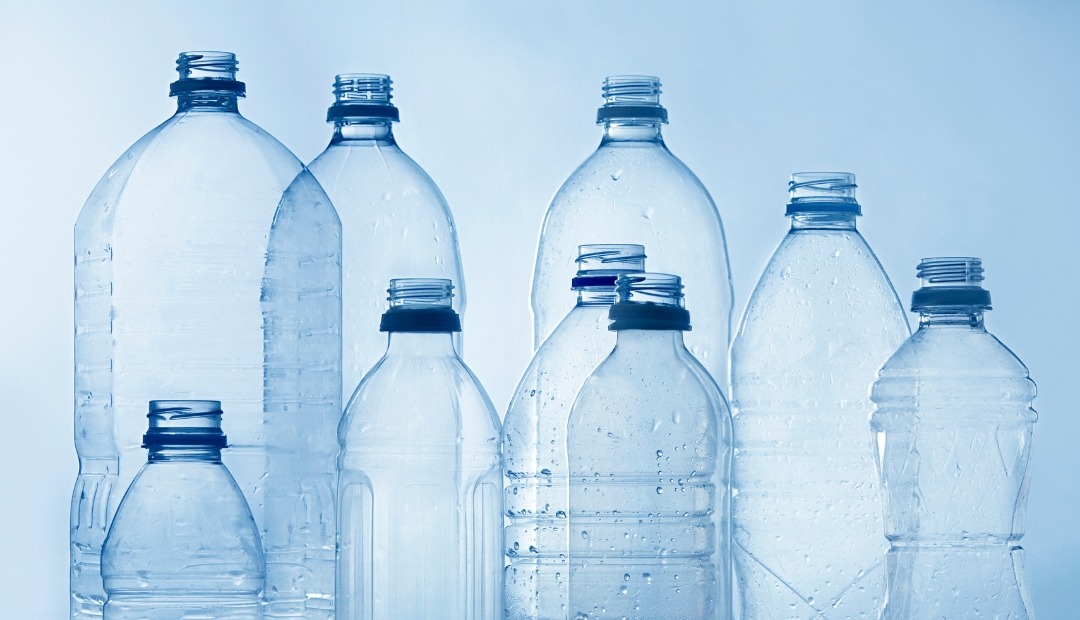
- Used plastic bottle
- Utility knife
- Scissors
- Sandpaper
- Masking tape or marker
- Newspapers
- Acrylic paint and paintbrush
- Plant
- Potting soil
- Pebbles
No matter what your plastic bottle previously contained, you have to make sure that it’s clean. You just need to remove any stickers, scrub off the sticky residue, and wash it with soap and water. Then, wipe it dry with a clean cloth.
2. Mark the Cutting Line
Place a couple of layers of newspaper over your work surface to protect it from cuts and paint stain.
Next, grab your masking tape and wrap it around the bottle. This should give you a straight reference line to cut the bottle in half.
If you don’t have masking tape, you can use a marker to draw an even cutting line.
3. Cut the Bottle
Using the masking tape as a reference, punch a hole into the bottle with a utility knife. Then, start cutting around the bottle with a sharp pair of scissors.
Remove the top of the bottle and cut away any jagged edges using your scissors. You don’t have to worry if the edges aren’t completely smooth as you’ll have to sand them later.
4. Add Drainage
After cutting the bottle in half, take your utility knife again and pierce three or four holes into the bottom of the bottle. These holes will serve as drainage, which will let out excess water and protect your plant from root rot.
5. Sand and Paint
Now comes the fun part: painting. Before you tap into your inner artist, you have to make the bottle smooth.
Take your sandpaper and sand down any rough edges, including the drainage holes. Then, lightly run it around the bottle to roughen the surface for better paint adhesion. Wipe off the dust using a clean cloth.
Once you finish sanding the outside of the bottle, you can grab your paintbrush and paint it with different colors of your choice. You can decorate your bottle in any design you prefer—your creativity has no bounds!
6. Give Your Plant a New Home
Allow the planter to completely dry for a couple of hours or so. Once the paint is dry, add the potting soil to the bottle and introduce your plant to its new home.
Finally, layer the top of the soil with pebbles and place your DIY planter on any sunny spot in your apartment.
Enclave At Woodbridge Apartments in Sugar Land, TX